
Product Details
Lunch-Hour Embroidery: 130 Playful Motifs from A to Z
Free Shipping+Easy returns

Product Details
Jack Dempsey 488387 Stamped Embroidery Kit Beginner Samplers, 6 by 8-Inch 3-Pack-Outside Fun
Free Shipping+Easy returns

Product Details
500 Simply Charming Designs for Embroidery: Easy-to-Stitch Monograms and Motifs (Design Originals) Patterns for the Home, Holidays, Food, Animals, Monograms, & Borders, plus Basic Stitches & a Gallery
Free Shipping+Easy returns
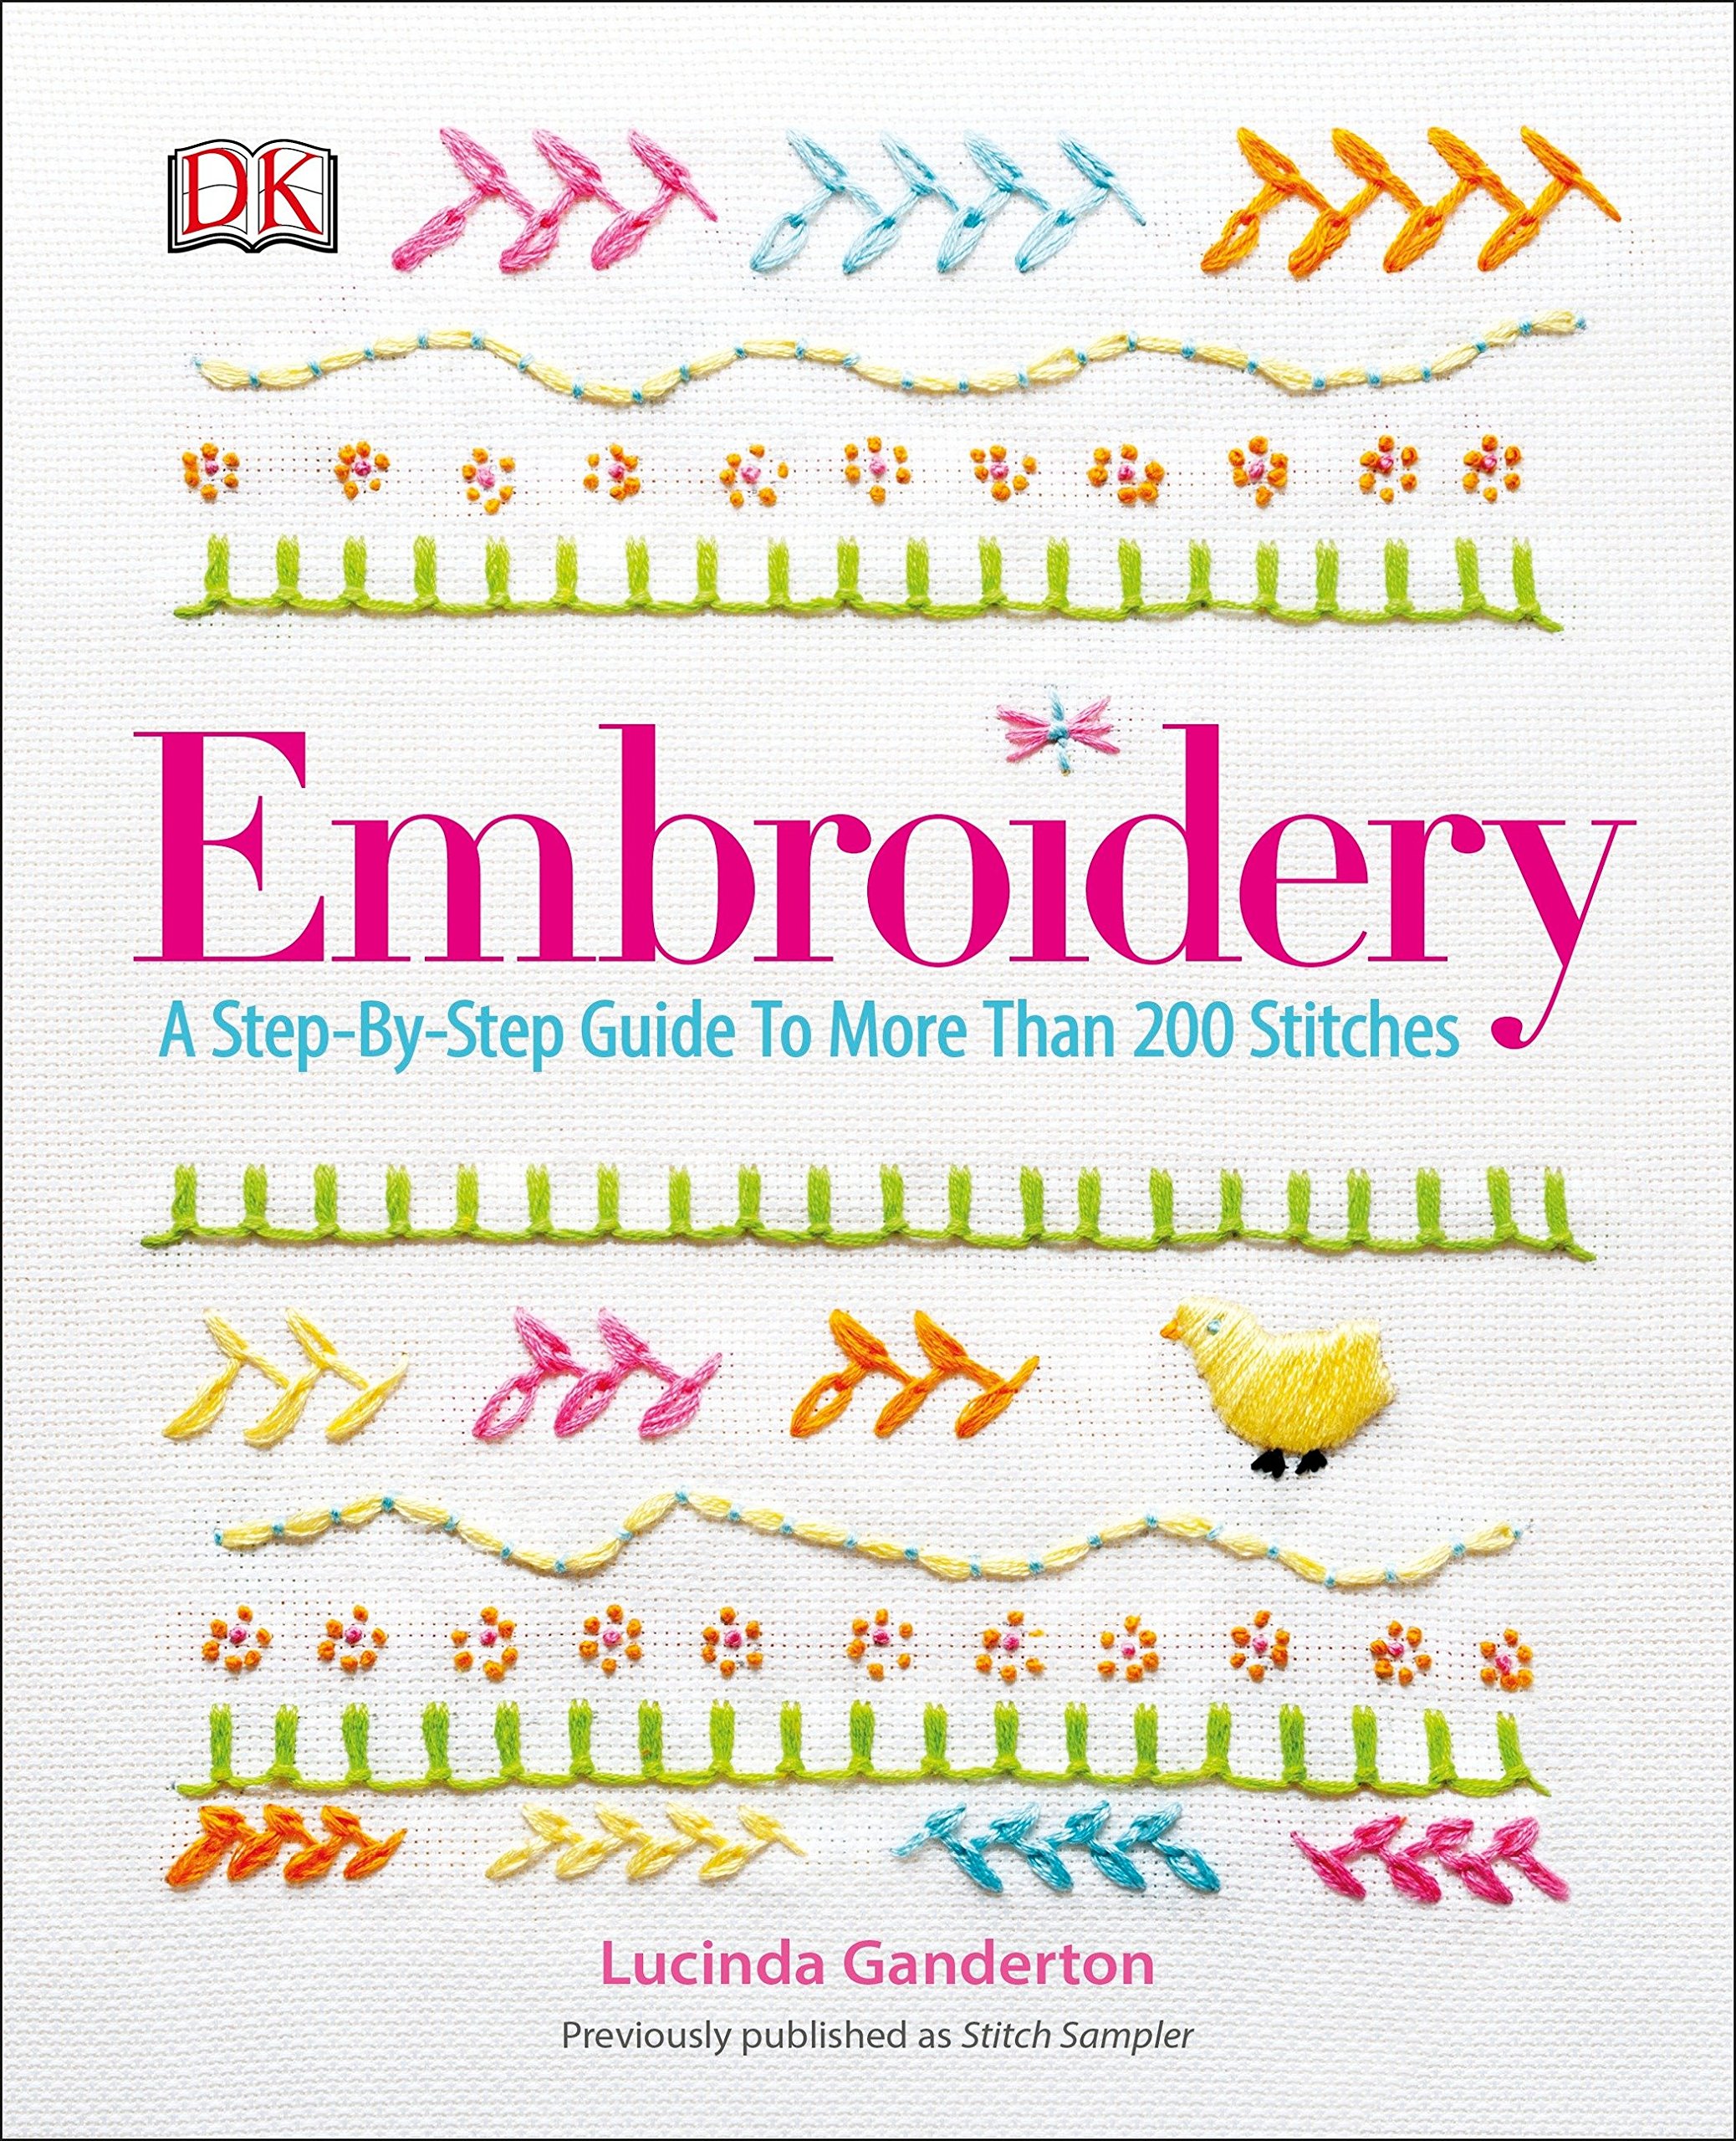
Product Details
Embroidery: A Step-by-Step Guide to More than 200 Stitches
Free Shipping+Easy returns

Product Details
Unime Embroidery Starter Kit with Pattern Full Range Embroidery Kit with Embroidery Cloth, Embroidery Hoop, Color Threads, Needles (Lavender)
Free Shipping+Easy returns

Product Details
Hoop Dreams: Modern Hand Embroidery
Free Shipping+Easy returns

Product Details
Stamped Embroidery Kit – for DIY Beginner Starter Stitch Kit for Art Craft Handy Sewing Including Color Pattern Embroidery Cloth,Embroidery Hoop,Color Threads,Tools Kit …
Free Shipping+Easy returns

Product Details
Digitizing Made Easy: Create Custom Embroidery Designs Like a Pro
Free Shipping+Easy returns

Product Details
Full Range of Embroidery Starter Kit with Pattern, Kissbuty Cross Stitch Kit Including Stamped Embroidery Cloth with Floral Pattern, Bamboo Embroidery Hoop, Color Threads and Tools Kit (Pretty Roses)
Free Shipping+Easy returns

Product Details
The Amazing Stitching Handbook for Kids: 17 Embroidery Stitches • 15 Fun & Easy Projects
Free Shipping+Easy returns

Product Details
2 Pack Embroidery Kit with Pattern, Full Range of Stamped Embroidery Beginner Kit Including Patterned Embroidery Cloth Hoop Colored Threads and Needles Hand Sewing Craft
Free Shipping+Easy returns

Product Details
Embroidery for the Absolute Beginner (Absolute Beginner Craft)
Free Shipping+Easy returns
Embroidery

I encourage you to use additional resources if you need more instruction than this simple guide. I have found video to be very useful in understanding stitches. Please click on the links below to watch very quick clips of the stitches. You can also find a directory of longer videos here, with more detailed instruction. Please stay tuned as I add more stitches to this index and fill out each section with more details and video. Stitches are listed alphabetically. ———————————— Back stitch Back stitch is worked from right to left and is great for creating solid lines. It helps to shorten the stitch length when using this stitch (and other linear stitches) to outline curved lines. You can also use this stitch to fill a shape and your stitches will look like little bricks. It’s also a great stitch for lettering. Start a stitch length away from the beginning of your line. Come up at A, then down at B, the start of your line. Then up a stitch length away at C, and back down at A. Up again at D and then down at C. Be sure to use the same same holes (A, C, etc) so there is no gap between your back stitches. VIDEO: Back stitch VIDEO: 2 ways to fill with back stitch Lettering tutorial Whipped back stitch To whip your back stitch come up at A, the beginning of your line. Then weave under and over EVERY stitch until you reach the end of the line. Bring your needle down at B and anchor. VIDEO: Whipped back stitch Lettering tutorial Chain stitch Chain Stitch creates a lovely textured line and has many variations to play with. Come up and down with the needle at the start of your line (A), leaving a loop. Come back up within the loop (B), a stitch length away, and pull to tighten the loop to desired tautness. End the chain with a small stitch tacking the loop down. This is another nice linear stitch for lettering. VIDEO: Traditional, reverse and detached chain stitch Lettering tutorial Reverse chain stitch Reversed Chain Stitch starts at the “end” of chain stitch with the small tacking stitch (A-B). Come up through the fabric a stitch length away (C) and slip your needle under the tacking stitch (do not pierce the fabric) before coming back down through the same hole (C). Continue in a chain. VIDEO: Traditional, reverse and detached chain stitch Lettering tutorial Detached chain stitch Detached Chain Stitch AKA Lazy Daisy is great for leaves and flowers. You can experiment with tension here, giving a thin or more rounded leaf/petal shape. Here you create a series of single chains. VIDEO: Traditional, reverse and detached chain stitch Heavy chain stitch VIDEO: Heavy Chain Stitch Couching Couching is a great linear stitch I like to use for lettering and stems or vines. This stitch uses two working threads which can vary in size (ply), type and color. The couched thread is pulled up at the start of your line (a) and goes down all of the way at the end of your line (b), leaving slack. Your couching thread is then used to tack down the couched thread along the curves of the lines. Both threads are anchored once the desired line is created. VIDEO: Couching Lettering tutorial Fern stitch Fern Stitch makes a nice addition to any florals. I think of it as a series of Y’s made of back stitches. VIDEO: Fern stitch Fishbone stitch Fishbone Stitch is my favorite way to fill leaves. You can use an angle more parallel or perpendicular to the vein of the leaf to give different looks. Go back and forth from the starting stitches at the top of the leaf and working down the sides of the outline. The stitches come up at the top and cross each other mid-leaf. VIDEO: Fishbone stitch Full fishbone stitch tutorial Fly stitch Fly stitch can be used for
embroidery

Have you ever marveled over the beauty of an embroidered pillow? How about a t-shirt that has a custom message that was done in embroidery? Now, have you ever wished that you could do that,
pottery

Dogs Hand Embroidery Kit. This fab kit contains everything you need (and more) to make this modern, feline embroidery hoop art. The icing on the cake is that the design is pre-printed, in colour, onto the fabric so no need for tracing! ☆ SPECIAL OFFER – 20% OFF ORDERS OVER £60 (approx $75) ☆ Use coupon code 20OFF60 at checkout ☆ The Design: This hand embroidery design is made up of 4 different types of stitches. It would make a nice starting pattern for a beginner or a quick project for an intermediate stitcher. ☆ What You Get: Each kit is packaged in a lovely kraft project box and contains: • A 6 inch wooden embroidery hoop • Pre – printed, 100% cotton fabric • Padding • A ‘how to’ guide from start to finish • Illustrated stitch instructions • 100% cotton embroidery thread • 2 x size 7, gold eye, embroidery needles • A paper version of the pattern ☆ Similar Items: This needlework design is also available as a printable PDF pattern here: soon If you’d prefer, you can purchase just the printed fabric and instructions (without any supplies) here: This listing is for the ‘Dogs’ Hand Embroidery Kit You can find more hand embroidery kits here: https://www.etsy.com/shop/OhSewBootiful?ref=hdr_shop_menu§ion_id=19252609 ☆ WARNING: Each kit contains 2 sharp needles. Please keep out of reach of children and be careful when using. ☆ Find Me: Instagram: @ohsewbootiful Facebook: www.facebook.com/Ohsewbootiful Pinterest: uk.pinterest.com/Ohsewbootiful I’d love to see your embroideries in progress and finished works of hoop art! ☆ Small Print: *Please note that the fabric is 100% natural cotton, which means it is a slightly creamy white, not brilliant white. This also means that there may occasionally be natural imperfections in the fabric and therefore the print.* Colours display differently on different monitors and on different fabrics. This means that the printed fabric may appear differently to how it it looks on screen. For Policies, Packaging, Delivery Times, Refunds and Returns info etc. please click SHIPPING AND POLICIES. • Please note that this embroidery pattern and kit is is my own design and for personal use only. • Do not distribute or resell the pattern or any work made from this design. • If you wish to use this needlework design commercially please get in touch with me to arrange. © Steph Arnold | Oh Sew Bootiful | 2016
embroidery

Learn how to embroider with this easy guide. Consider this your embroidery 101. Perfect for learning how to embroider for beginners!
Craft

We’ve found 20 great tutorials to get you started learning to embroider, including the basic stitches that every beginner to embroidery should learn.
Embroidery Stitches:

Käsityö

Hand Embroidery Wildflowers PDF Pattern – DIY Floral Hoop Art – Easy Floral Hand Embroidery Pattern – Beginner Hand Stitched Hoop You can embroider these flowers yourself! This pattern is intended for those who already have a basic understanding of embroidery, but suitable for anyone who is new to embroidery! All the stitches used here are beginner-friendly!PDF pattern contains all needed instructions and you can learn stitches during your embroidery process. Your purchase includes: – A printable pattern (embroidery 15 x 15 cm / 6” x 6” inches); – Material list; – A tutorial with instructions – guide for each element; – My tips on where to go for inspiration with links to video tutorials for the stitches – Ideas how to transfer an embroidery design to fabric !!!!!!!!!!! This listing is for a PDF file of this pattern. This listing does NOT include supplies or any finished product. Nothing will physically be sent to you. Your embroidery pattern will be available for download upon purchase. You can see/purchase the finished hoop here: https://www.etsy.com/listing/674525168/wildflowers-embroidery-botanical?ref=shop_home_active_6&frs=1 I like seeing your finished work very much! Post your photos here in review or tag me on instagram @koddi.store or use the hashtag #koddistorepatterns so that I can see your progress! Please feel free to reach out to me with any questions you may have! Thank you so much for looking and your support. Follow me on Facebook, Pinterest and Instagram!